Hello,
Recently I've been doing something really outside of my regular interests and activities, and it was really exciting so I wanted to share the story. My dad and mom are proud owners of a small gift shop. Mainly they produce gift items by themself now, but 10 years ago they were having multiple gift shops, warehouses, and selling the entire line of imported products mainly from China and Turkey. Back then I was in charge of the IT department. Their accounting/retail software is Unix based relational database system called Progress, now called OpenEdge Progress (https://documentation.progress.com/output/ua/OpenEdgelatest/index.html#page/gsdev/openedge-rdbms.html). To have at least some GUI with that terminal-based Unix system I've made two desktop computers basically networked together through LAN where one was Unix server hosting database and the other one was Windows XP hosting other applications. It was really stable solution, but to be able to host one monitor, keyboard and mouse I've had to use KVM Cable [2x PS/2 plug, VGA plug - 1x VGA plug, USB 1.1 connector A] 3 m Grey Digitus, something like well explained here https://en.wikipedia.org/wiki/KVMswitch
So basically the retail POS system required 2 Desktop computers networked with a lot of cables. The system was working stable for more than 2 decades (20 years yep!), and now I've decided to make some enhancements.
What I did is:
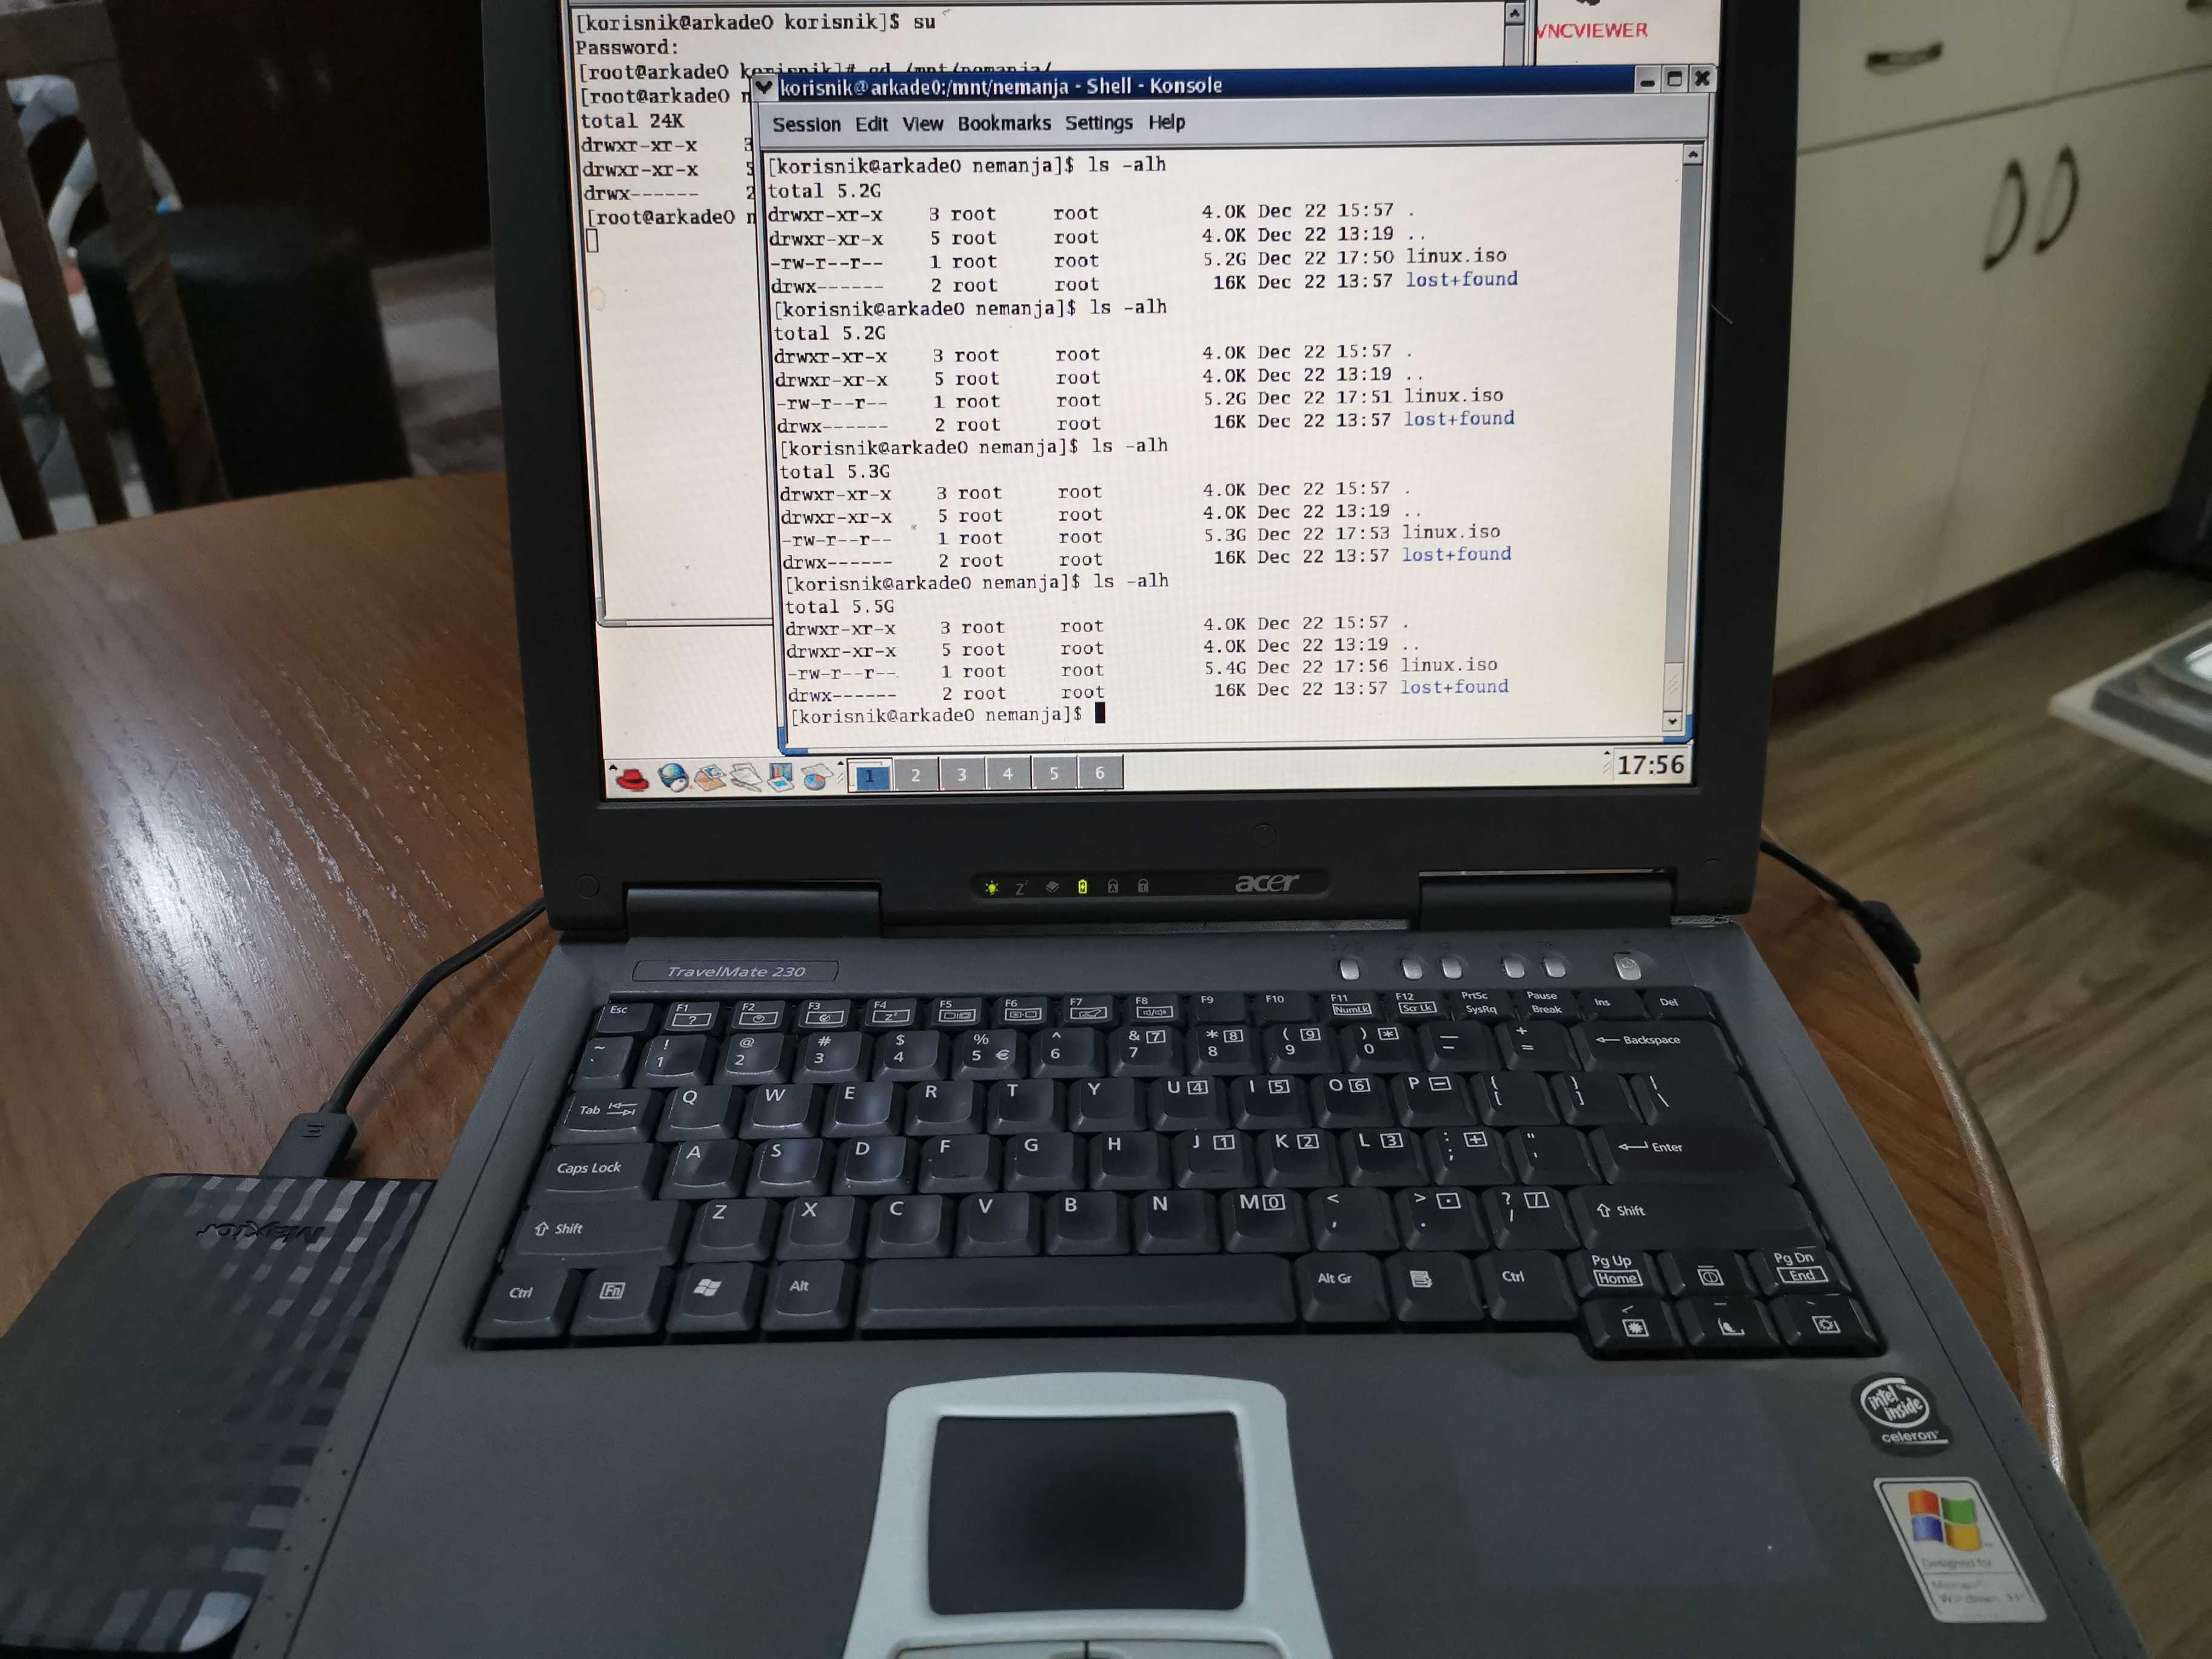
1) Created ISO file using a Linux dd tool (https://www.geeksforgeeks.org/dd-command-linux/). dd is a command-line utility for Unix and Unix-like operating systems whose primary purpose is to convert and copy files. Since my fork on one of the older laptops (Acer Travelmate) had RedHat 9 Linux on it with the functional database I've plugged USB disk to it, created ISO file and saved ISO on the USB disk.
Command used was:
dd if=/dev/hda of=linux.iso bs=2048
“bs” specifies the block size for both the input and output files. So dd uses 2048bytes as a block size in the above command.
The process looked like this:
When data was copied, I've powered down my old laptop computer and booted newer Acer Travelmate Aspire 5520 with 4gb of RAM and new SSD disk installed on Windows 10 operating system.
The next thing was to copy linux.iso file from USB Disk to the Windows laptop and install VirtualBox (https://www.virtualbox.org/wiki/Downloads) latest version on it.
1) Open command prompt
2) Navigate to the c:\Program Files\VirtualBox folder
In a Terminal window on your run the following command:
VBoxManage convertfromraw linux.iso linux.vdmk
note: Make sure that you copy linux.iso to the Virtualbox folder or use full paths when converting or how you desire.
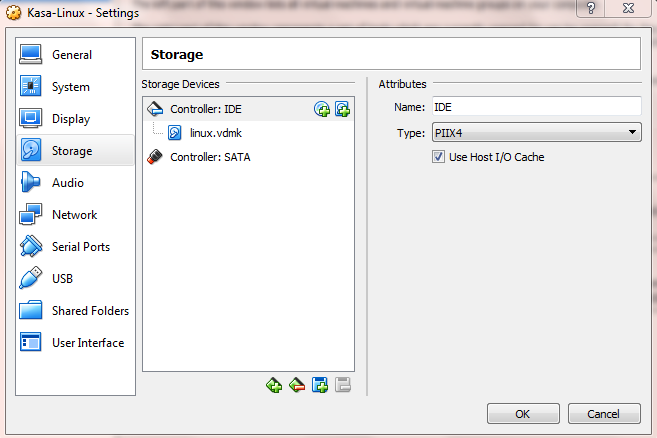
Once that is done and vdmk file created visit VirtualBox manager icon and start creating Virtual Machine. My example requires RedHat type system 32bit so I have configured that way, but theoretically, you may use the same to convert any standard Linux distribution.
There are two critical parts to make it work:
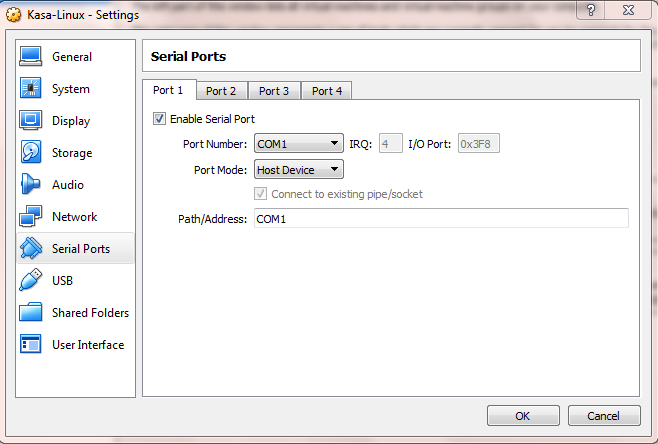
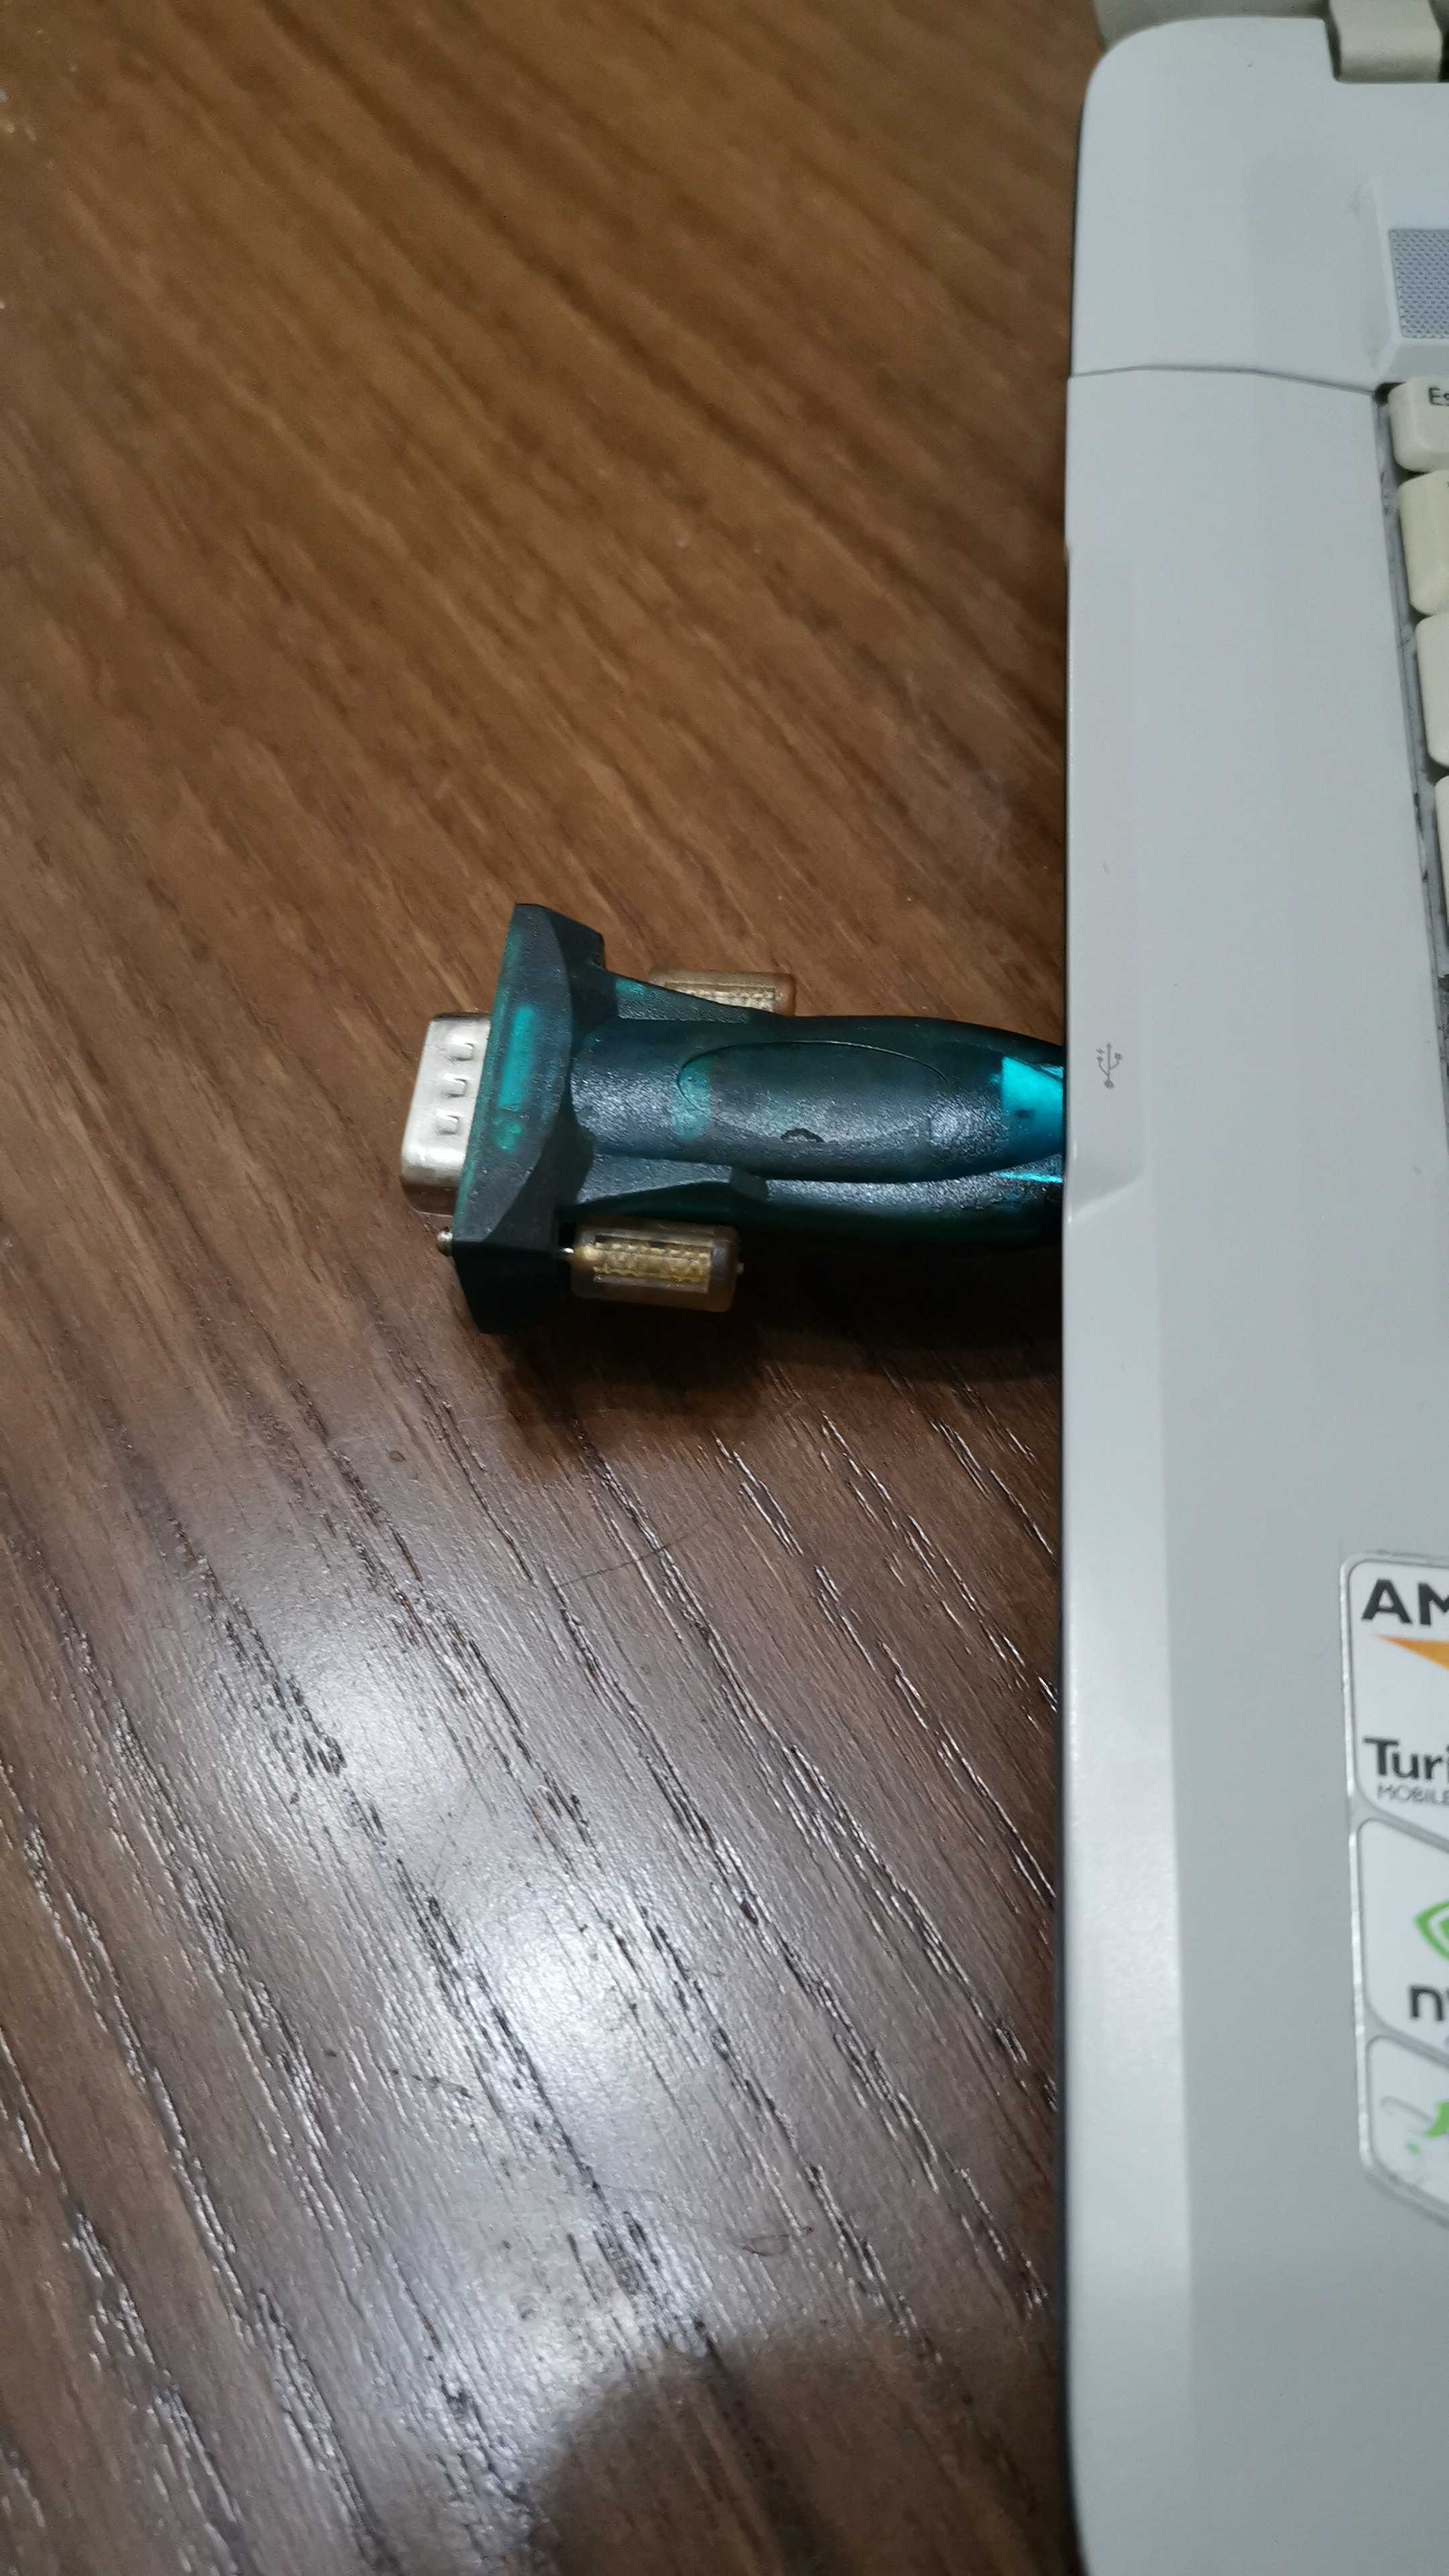
Since the project required that Virtual Machine communicates with COM1 port and Prolific USB to Serial device I've had to enable it using the above settings. The reason for the Serial COM1 requirement is because the Serbian government enforces usage of "special" thermal printers who have specific chips which they use to track how many bills are printed and how much revenue your shop had.
The fun part to make this work on RedHat is actually to setup Serial correctly. The serial hardware often has only a limited number of IRQs it can be set at. Also, you don't want IRQ conflicts. So there may not be much of a choice. Your PC may normally come with ttyS0 and ttyS2 at IRQ 4, and ttyS1 and ttyS3 at IRQ 3. Looking at /proc/interrupts will show which IRQs are being used by programs currently running. You likely don't want to use one of these. Before IRQ 5 was used for sound cards, it was often used for a serial port.
To get this adapter installed on Windows 10 OS you need to visit http://www.prolific.com.tw/US/ShowProduct.aspx?p_id=225&pcid=41 download and install drivers.
Command used:
/sbin/setserial /dev/ttyS0 irq 3
To test if data is going from my Freshly booted Redhat Virtual machine I've used following command from Terminal:
echo -ne "Nemanja is King" > /dev/ttyS0
To test I have downloaded and installed https://www.eltima.com/com-port-monitor-download.html tool on the windows machine to monitor output and to make sure that COM1 serial from Virtual Machine back to Windows and USB adapter is working as expected.
Video at the end of this article explains:
https://www.youtube.com/watch?v=HTyDuOy_rzM
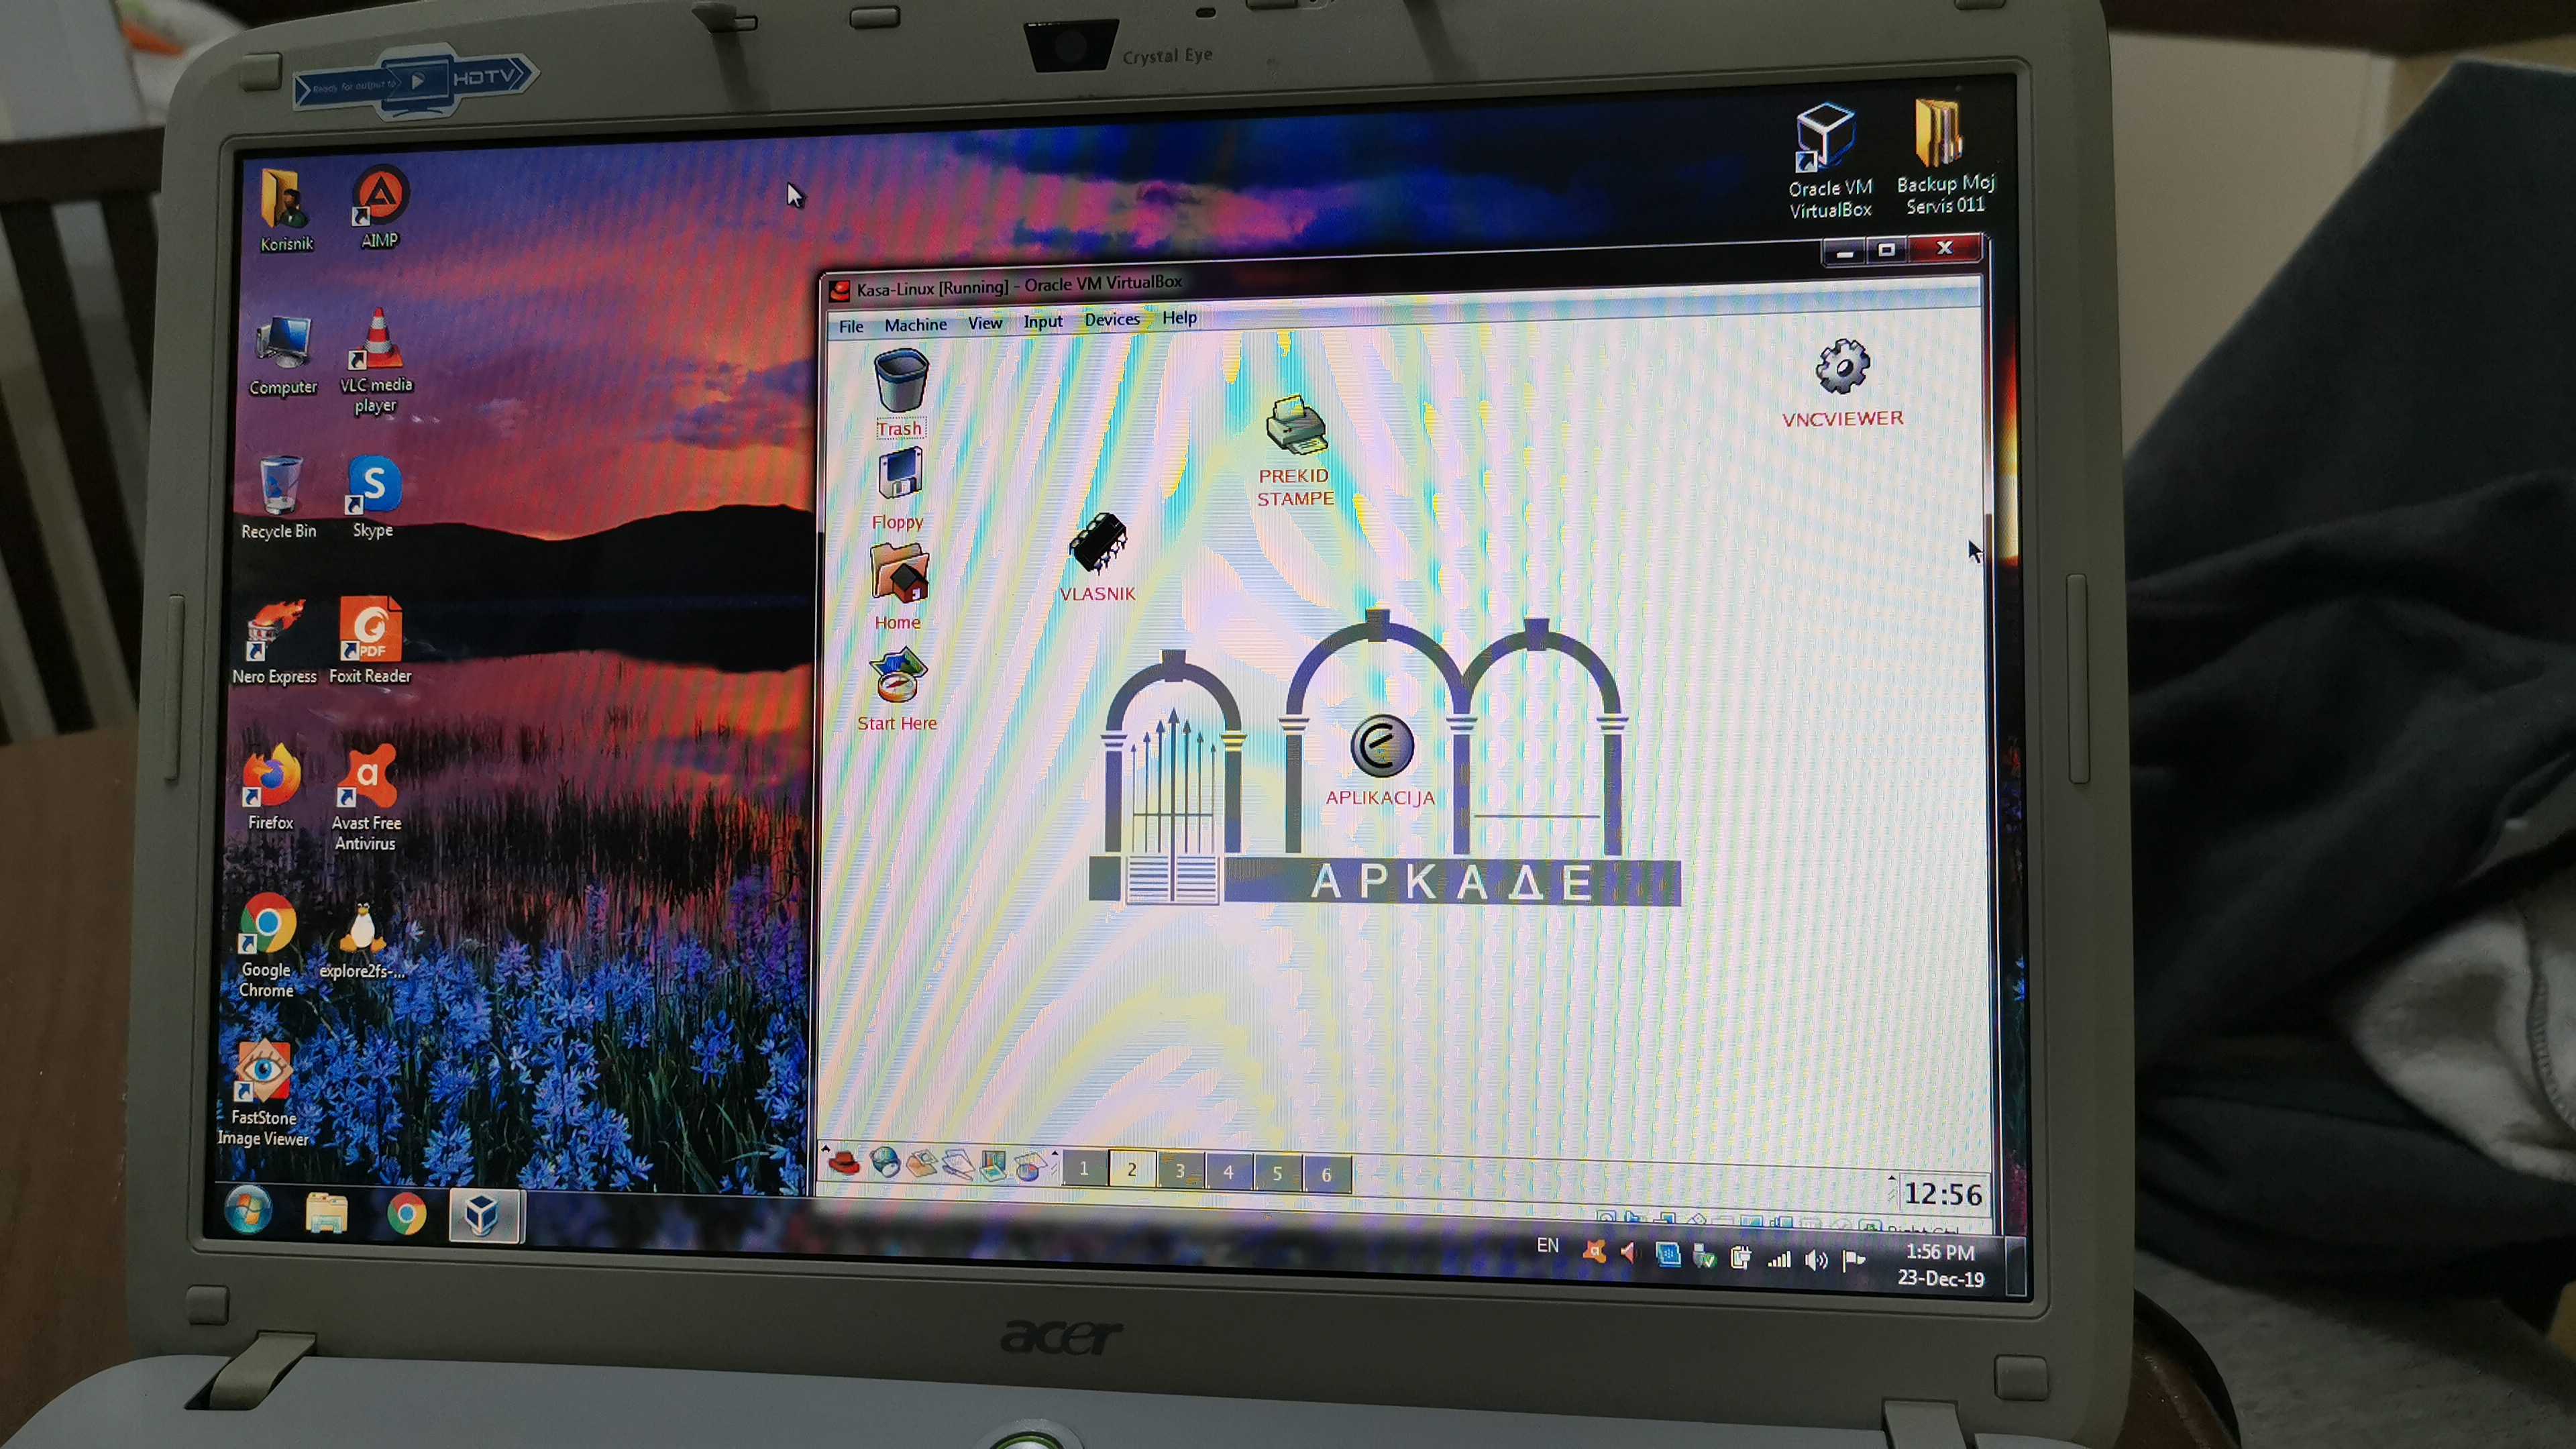
Two systems in one:
A bit unfinished story here... I will send another video/pictures to demonstrate how this looks in realtime (real shop) working with real Thermal POS printer.
Thank you for reading this.
Nemanja